Quick Tip: Snapseed's Spot Adjustment
Snapseed has many, many great tools within it. However one that really stands out for me is the “Selective” too. This allows you to choose a specific spot in an image and adjust the Brightness, Contrast or Saturation. For me, I use the first two, rarely the third.
Once you open your image in Snapseed, tap the pen/pencil in the bottom left corner to reveal your tool set. Find Selective in this menu, on the left in the first bucket of tools.
Within this menu you will see a little + it should be blue. If it’s blue then tap on the image, anywhere you would like to make a selective, point adjustment. The default option is “Brightness”.
Here’s where things get rad…
When “B” or Brightness is Blue, it’s active. Use two fingers to swipe, you’ll see the area illuminate in RED. This is displaying the affected region of this selective tool. If you want to make it larger or smaller, just move your fingers closer together or further apart. Rad right?
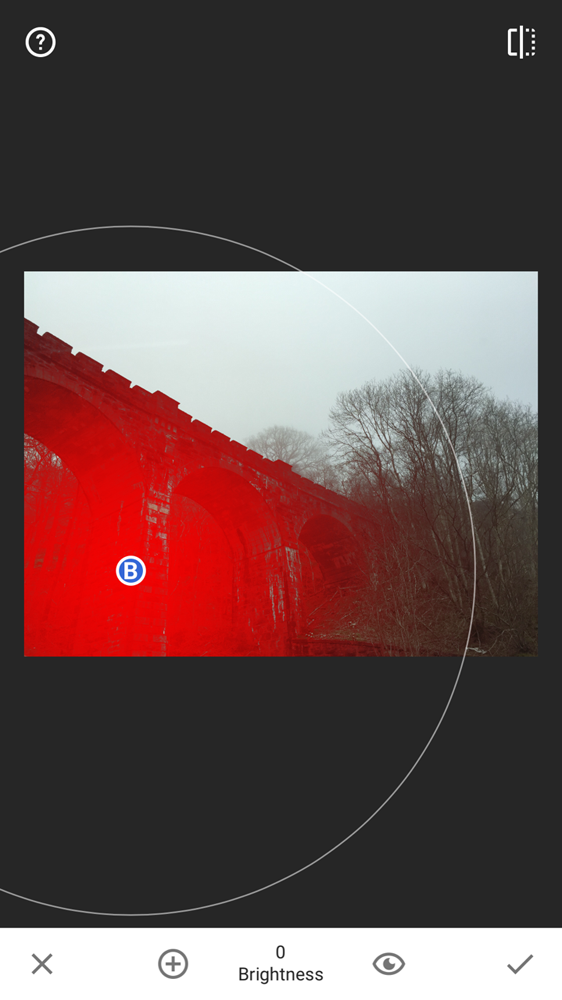
With a single finger is where you make the + / - adjustment. Swipe Right to Brighten, Left to Darken.
Tap and Hold on the B and move your finger up or down to reveal the other settings.
“C” is for Contrast (have fun but don’t go to crazy)
“S” is for Saturation (no selective colour please, it just looks odd)
But wait, there's more!
Got that first spot to perfection and want to copy it? Oh yea, you can do that!
Tap & Release to reveal a “Cut”, “Copy”, “Delete”, “Reset” menu.
See a before and after by tapping the icon in the top left corner.
Now remember, for a scene that has some real extremes to it and the brights are blown out or the darks are pure black, there may be limitations of what you can do to save things. But this little tool gives us a chance to try.
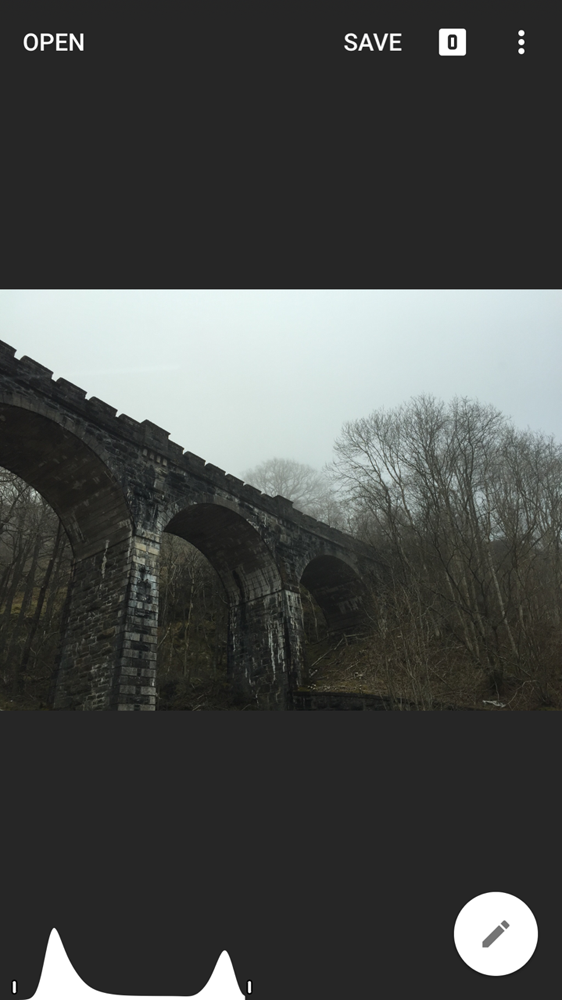
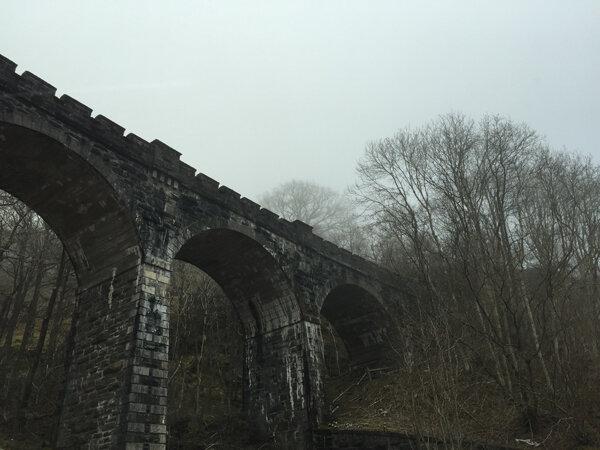
This is a train bridge in the Highlands of Scotland, somewhere along A82, near Argyll. After I did my spot adjustments I went to the Black and White menu to convert it. I felt the textures and tones would look really cool in Black and White. Check out the Before and After below:

Thanks,
~ Kate